Render a Graphene Sheet using Blender
Blender is a free open-sourced 3D modeling tool which is very popular in many fields, including rendering scientific drawings.
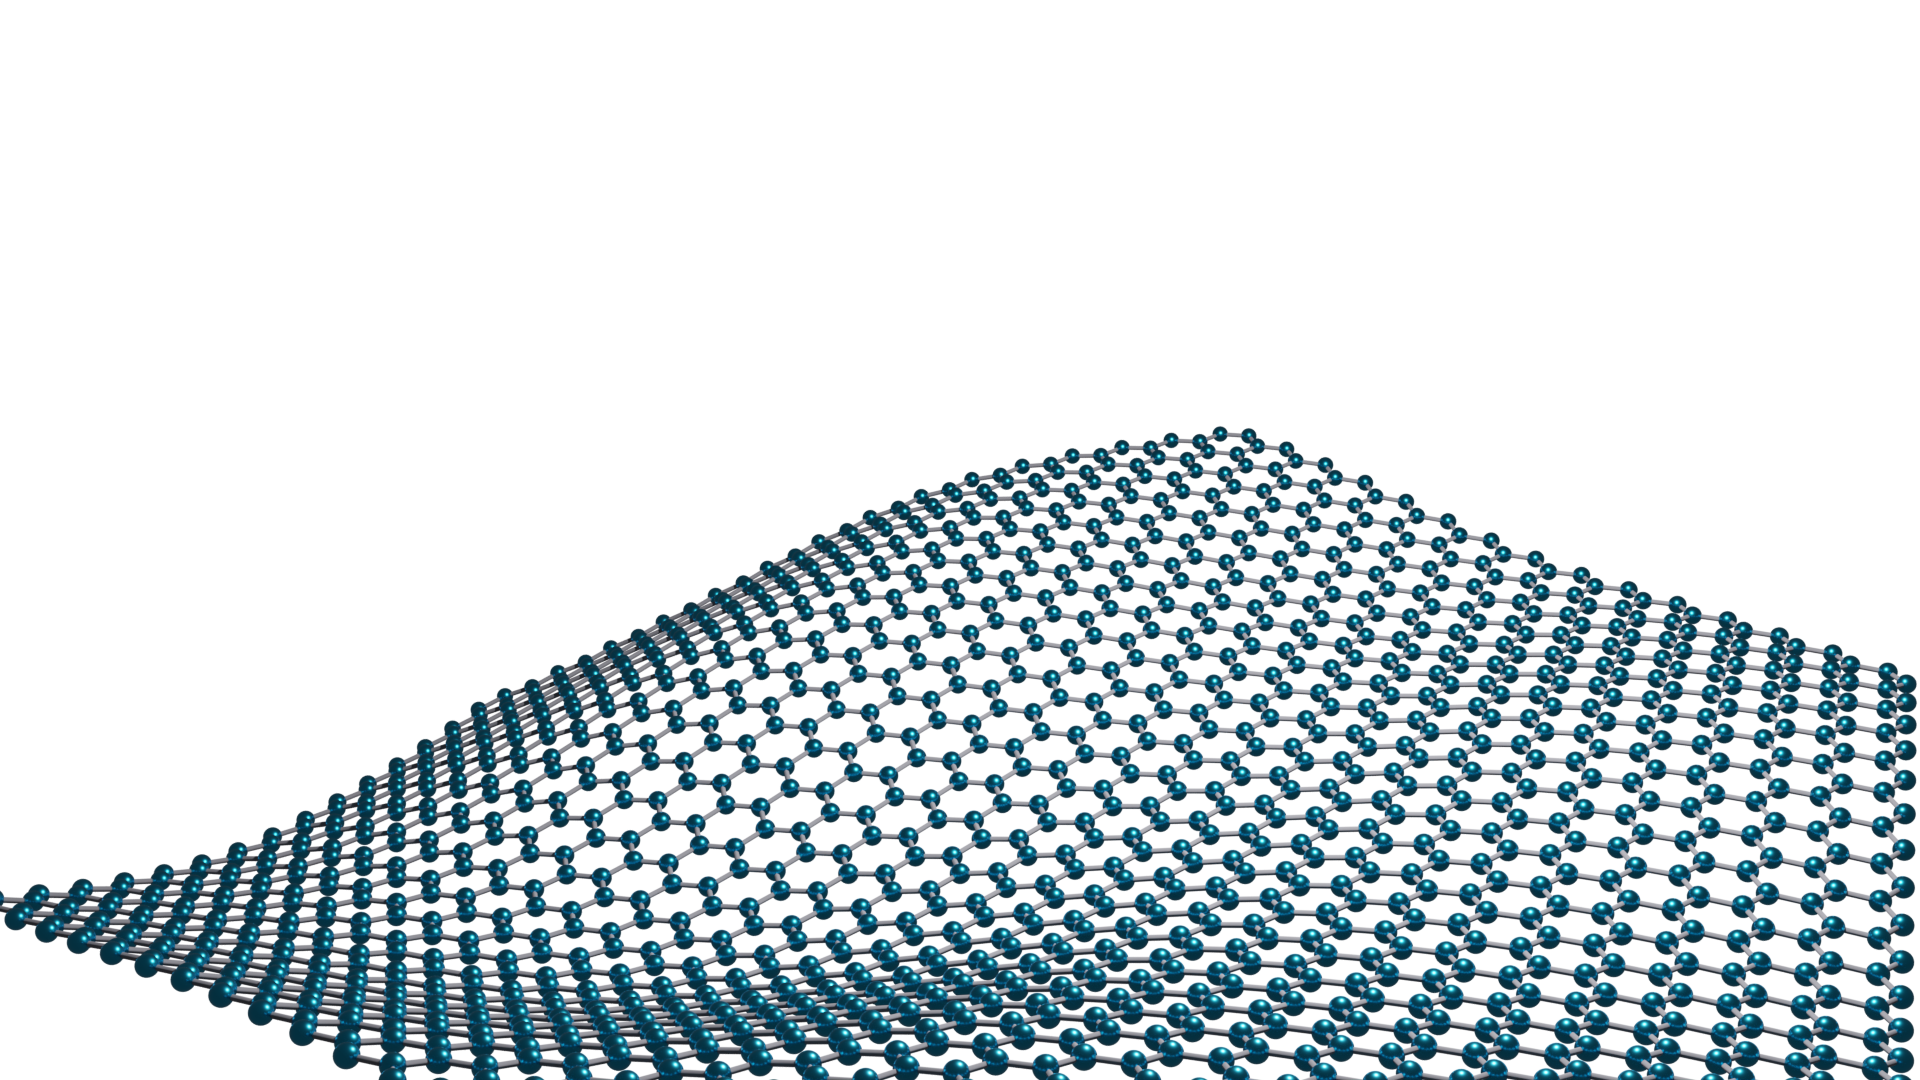
Here is a rendered graphene sheet with some deformations:

The basic object is created roughly as follows:
- make a plane
- subdivide to have more meshes
- use modifiers: triangulate + subdivision (the unwanted vertices can be removed by dissolving)
- add wireframe modifier to the mesh (adjust the thickness and the boundary)
- add bevel modifier to shape the edges (adjust the magnitude)
- shade smooth to have more smooth object
- add displace modifier (above the previous two) and add a texture
- set the texture to be cloud (adjust the size 2.5)
- introduce atom (UV sphere) and use subdivision modifier with shape smooth
- add particles using hair style (the same number as the vertices)
- use the vertices as the source (adjust the pars), render them as the source atom and change the size
- adjust the order of modifiers if necessary
- adjust the materials/lighting
- rendering and save results
Similarly, the nanotube:

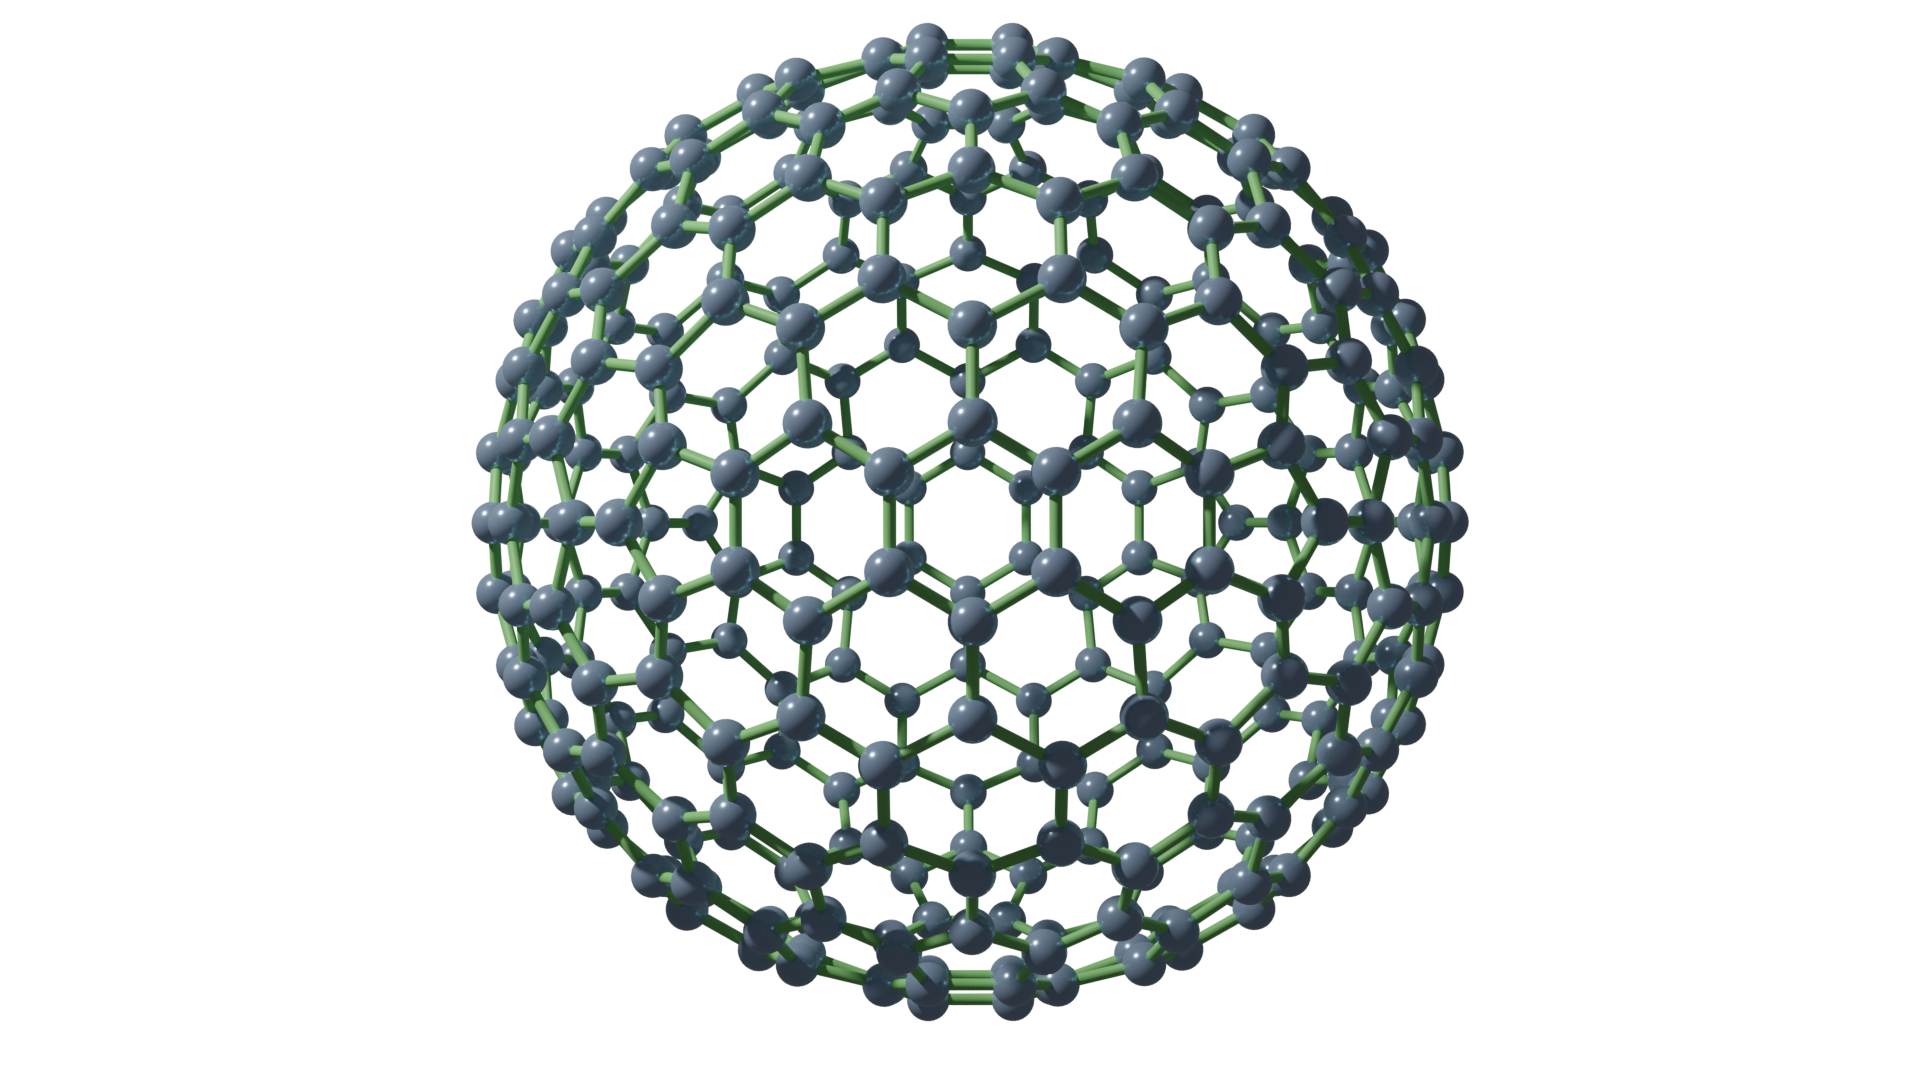
and fullerene (not exactly C60):

The later two models were built using the Tissue addon in Blender.
Handy Shortcuts/tips for Efficient Modeling
Dual Mesh in Tissue addon is super handy in generating these models without using triangulate and subdivision as listed in step 3 above. The version contained within the software may not work well. The best way is to download it from its web and install it manually.
Handy shortcuts
- shift + R: repeat the previous operation
- shift + G: selection with more options
- shift + MMB: pan
- object properties -> viewpoint display -> Wireframe ON: display object along with wireframe
- F3: search commands
- ctrl + Numpad (+): expand selection
- ctrl + i: inverse selection
- ctrl + a: apply operation
- z: change view style
References
- CGFigure, YouTube.